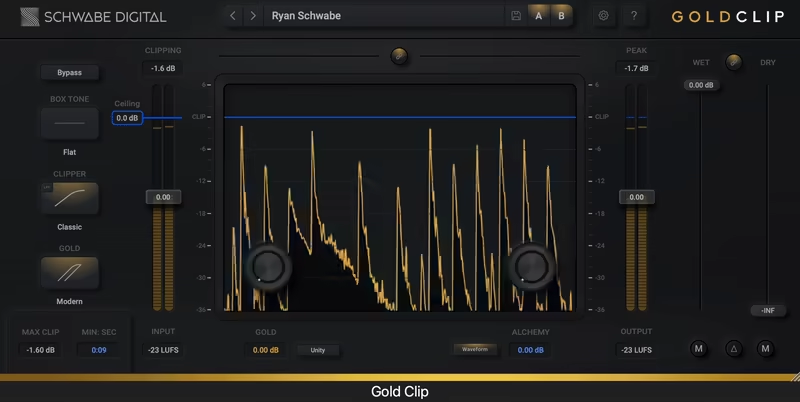
This article will quickly show you how to get loud masters with a clipper, but we’ll also go deeper into what clippers are, when to use them, and why they work so well.
As an upcoming music producer, one of your biggest challenges is getting your mixes and masters up to commercial standards. By “commercial standard,” I mean a clear, balanced, and, most importantly, loud mix.
And that last part, loud, is where many new producers get stuck. You listen to reference tracks, A/B them with your own, and notice they sound way louder and more upfront.
Don’t stress! There’s a quick fix, a tried-and-true secret weapon that Hip-Hop and Trap producers have relied on for years.
That fix is called a clipper! Let’s get into it!
What Is a Clipper and Why Should You Use One?
A clipper is a powerful tool to increase loudness without squashing dynamics. It trims peaks in a musical way, allowing you to maximize volume without losing punch or clarity.
Think of it like this:
- A limiter carefully reduces peaks, controlling them smoothly.
- A clipper chops off peaks outright, making space for the overall level to be pushed higher.
The result? Louder, punchier tracks without nasty distortion.
Why Use a Clipper for Loudness?
Traditionally, limiters have been the go-to for making tracks louder, but clippers do something special.
First, they increase perceived loudness by shaving off transients, giving your mix more body while preserving the punch by keeping important dynamics intact. They also add subtle harmonic distortion, making your track feel richer and warmer. Finally they take the load off your limiter, letting it work more efficiently without pumping or squashing.
Clippers are essential for Hip-Hop, Trap, EDM, and Rock, where punch and loudness are key. Whether you use them on a master bus, mix bus, drums, or 808s, they help you push your track further without wrecking the mix.
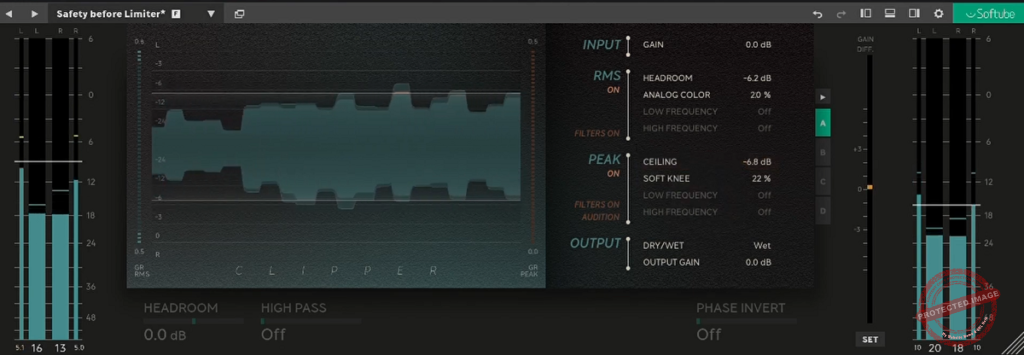
How to Get Loud Masters with a Clipper
By trimming peaks instead of compressing them, a clipper allows you to push levels higher while maintaining clarity and punch.
A limiter works by gradually reducing volume, but a clipper hard cuts peaks, creating extra headroom. This means you can boost the overall level of your track without introducing pumping or over-compression.
Here’s how to use a clipper to get a loud, polished master:
- Place a clipper before your limiter: The goal is to shave off transient peaks so the limiter doesn’t have to work as hard.
- Adjust the input gain: Increase the input to push the audio into the clipper.
- Set the clipping threshold: Lower it until peaks are trimmed just enough to reduce excessive transients.
- Use your ears: The goal is loudness with punch, not a distorted mess. Listen carefully and adjust accordingly.
- Balance with your limiter: After clipping, apply gentle limiting to finalize the loudness without over-processing.
This technique is widely used in hip-hop, trap, EDM, and rock, where punch and clarity are crucial. Clippers let you hit commercial loudness levels while keeping your track energetic and dynamic.
Hard Clipping vs. Soft Clipping
Regarding clipping, there are two types you can choose from. The right one depends on the sound and character you are after.
Hard Clipping cuts off peaks more aggressively, creating a more distorted sound. It is more suitable for adding grit to drums and 808s or achieving the maximum loudness.
Soft Clipping is smoother as it gradually rounds off peaks, adding warmth and saturation to the sound. It does not bring harsh distortion like a hard clipper, making it ideal for having a natural feel with increased loudness.
Some clipper plugins allow you to blend between hard and soft clipping, giving you control over how much saturation and distortion is introduced.
Why Use a Clipper Instead of a Limiter?
While limiters are great for finalizing loudness, they are not great with high-energy transients. That could produce pumping effects, squashed dynamics, and punch loss.
A clipper cuts peaks but leaves the body of the sound untouched. This brings out a more natural loudness to drums, bass, and vocals.
A clipper before a limiter is a powerful combination in a mastering chain, helping you reach commercial loudness levels while keeping dynamics in check.
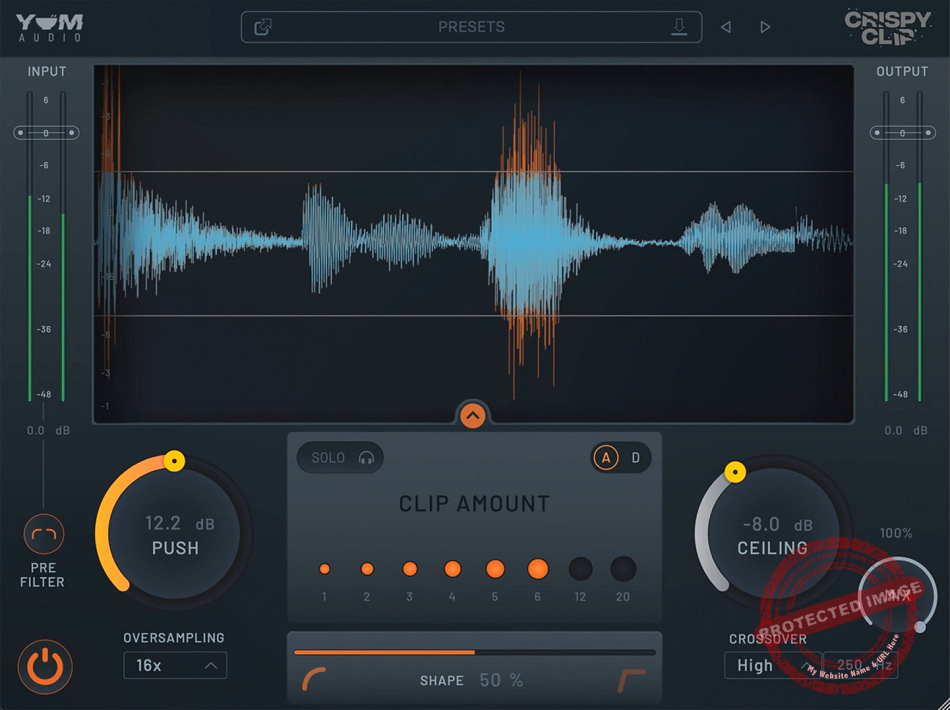
Setting Up Your Mix for Clipping
Before touching a clipper, your mix must be balanced and prepared for loudness. A clipper is powerful, but it won’t magically fix things if your mix is messy.
1. Balance Your Mix First
A well-balanced mix makes clipping more effective. Each element should sit at the right volume, complementing the others rather than fighting for space.
- Make sure drums are punchy but not overpowering.
- Keep the bass tight and controlled.
- Avoid overly bright or harsh frequencies, as clipping can exaggerate them.
A mix that’s already well-balanced will respond better to clipping, allowing you to get louder without unwanted distortion.
2. Leave Headroom
Before applying a clipper, your mix should have enough headroom to work with. A good rule of thumb is to keep peak levels between -6 dB and -3 dB.
This gives the clipper enough space to shape transients without immediately overloading your limiter. If your mix is already maxing out the meters, clipping will likely introduce harsh distortion instead of clean loudness.
3. Use Multiple Clippers for a More Natural Sound
Instead of relying on one heavy clipper at the end of your chain, spread out the clipping across multiple stages.
- On individual tracks: Light clipping on drums, bass, and vocals helps control peaks before they hit the mix bus.
- On mix buses: A small amount of clipping on the drum bus or instrument bus can tame spikes and balance dynamics.
- On the master bus: A final clipper before the limiter trims remaining peaks, making the limiter’s job easier.
By clipping in stages, you avoid overworking a single clipper, keeping your mix punchy and controlled.
4. Use Your Ears, Not Just Meters
Clippers don’t always show their impact visually, so trust your ears when adjusting settings.
- If your mix starts sounding crushed or lifeless, you’ve gone too far.
- If you hear harsh distortion, back off the input or raise the threshold.
- If your mix feels louder but still dynamic, you’ve found the sweet spot.
Clippers are powerful but easy to overuse. The goal is to increase loudness while keeping the energy and feel of the track intact.
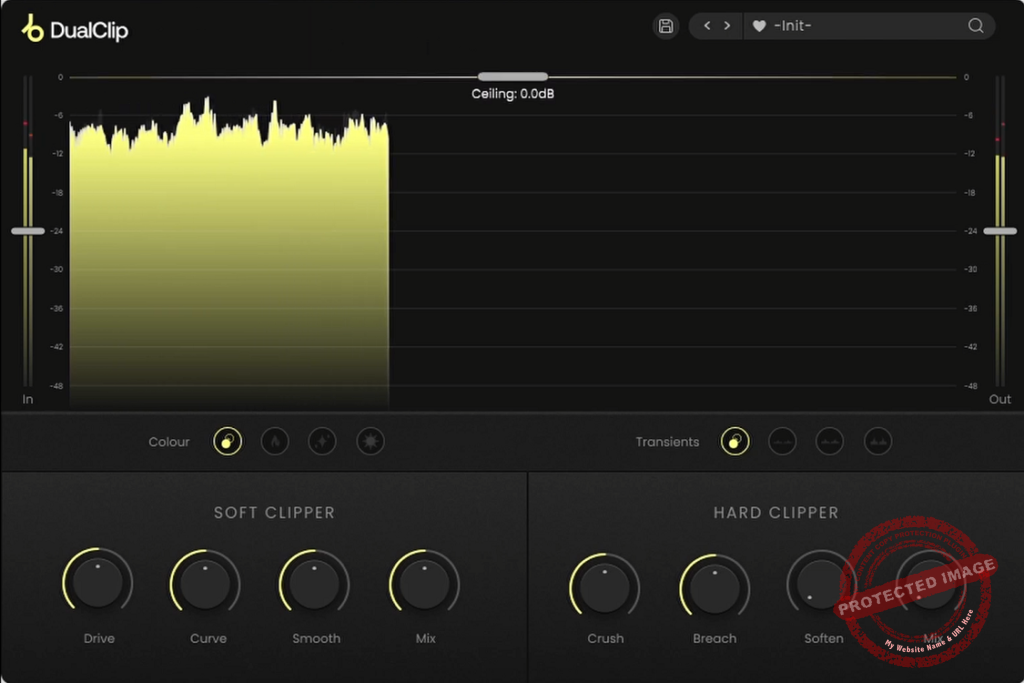
How to Apply a Clipper Effectively
After getting your mix balanced and ready, you can apply a clipper strategically. Remember, the key is to shave off transients just enough to create extra headroom without dulling your mix.
1. Use Clipping Before Limiting
Putting a clipper before a limiter is a great way to maximize loudness without losing dynamics.
- The clipper trims transients, reducing peaks without squashing the whole track.
- The limiter gently controls the remaining peaks, ensuring a clean, final master.
This setup prevents the limiter from working too hard, reducing unwanted pumping and distortion.
2. Adjust the Input Gain
The input gain is responsible for how much signal is fed into the clipper. Start with small adjustments:
- If it is too low, you won’t get enough loudness.
- When it is too high, you’ll introduce unwanted distortion.
- Just right means a louder, fuller sound without excessive artifacts.
Find a balance where clipping enhances the mix without making it harsh.
3. Set the Clipping Threshold
The threshold determines where the clipper starts working. Lowering it too much can destroy transients while setting it too high won’t achieve the desired loudness.
- Start by bringing the threshold down until you hear a subtle change in transients.
- If your drums or vocals lose their punch, back off slightly.
- Keep adjusting until you get more loudness without unnatural distortion.
Many producers blend both styles for maximum control over loudness and texture.
4. A/B Test Different Clipping Plugins
Not all clipper plugins sound the same. Some introduce analog-style warmth, while others are more transparent. A/B testing different plugins helps you find the best one for your mix.
- Transparent clippers work best for clean, loud masters.
- Saturation-heavy clippers add harmonics and color, which can be great for vintage or aggressive tones.
Some popular choices include Kazrog KClip, StandardCLIP, Newfangled Saturate, and bx_clipper. Each has its own character, so test different options to see what fits your style.
5. Don’t Overdo It
One of the most common mistakes with clippers is over-clipping, which can make your mix sound harsh, brittle, or muddy.
- Be careful with high frequencies, as clipping can magnify harshness in the top end.
- If your track loses depth and clarity, you can try to dial back the input or increase the threshold.
- Use parallel clipping (blending clipped and clean signals) for a more balanced effect.
Clipping is a powerful tool, but like anything in mixing, subtlety is key. The best results come from careful adjustments and listening closely to how your mix responds.
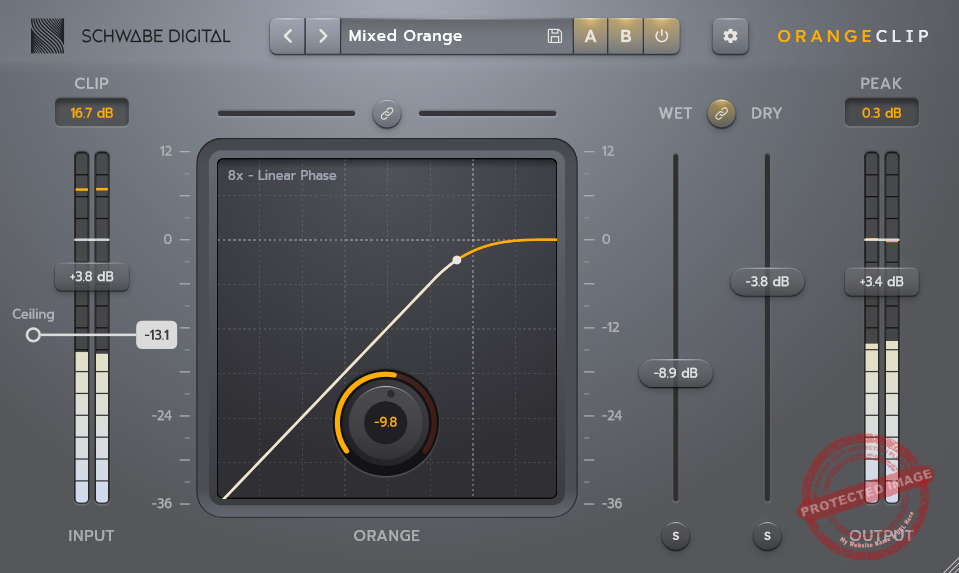
Where to Use Clipping in Your Mix
Clipping isn’t just for the master bus as it can be a life changer on your individual elements, providing you with much more control over peaks, loudness, and punch, all done far more naturally.
1. Clipping on the Drum Bus
Drums are full of fast transients, and a clipper helps control these peaks while keeping the impact.
- Before clipping: Your drums might have sharp spikes that eat up headroom.
- After clipping: Transients are trimmed, allowing the drums to hit harder without overpowering the mix.
How to do it:
- Apply a clipper to the drum bus with a moderate input gain.
- Use soft clipping if you want warmth and character.
- Use hard clipping for a more aggressive, punchy sound.
- Blend clipped and unprocessed drums for a balance between impact and clarity.
This technique is especially useful in hip-hop, trap, and EDM, where drums need to stay loud and upfront.
2. Clipping on Kick Drums and 808s
A clipper is one of the best tools for making kicks and 808s hit harder. Many top hip-hop producers rely on clipping to enhance low-end presence.
How to do it:
- Apply a soft clipper to round off peaks and add warmth.
- Use hard clipping for extra bite if the kick needs more attack.
- Adjust the input gain carefully, too much can cause unwanted distortion.
This keeps kicks and 808s powerful without distorting or overwhelming the mix.
3. Clipping on Bass
Basslines can be tricky because they take up a lot of energy. A clipper helps control dynamic spikes, making the bass more consistent.
How to do it:
- Use soft clipping for a smoother, fatter low end.
- Use hard clipping sparingly, as it can introduce unwanted distortion.
- If using a clipper on the master bus, be careful not to overclip the bass.
When done right, clipping tightens up the low end, helping the bass cut through the mix without sounding muddy.
4. Clipping on Vocals
Vocals need clarity and presence, and clipping can help by taming sharp peaks without over-compressing.
How to do it:
- Apply light clipping before compression to smooth out peaks.
- Use soft clipping for warmth, keeping the vocals natural.
- Avoid hard clipping unless you want a gritty, distorted effect.
Clipping works best on rap vocals and aggressive rock vocals, where a little saturation adds character.
5. Clipping on Synths and Guitars
Clipping can add energy and help synths, guitars, and other melodic elements sit better in the mix.
How to do it:
- Use soft clipping on synth leads to add harmonic richness.
- Apply hard clipping on distorted guitars for a more aggressive tone.
- If the instrument is already heavily processed, use minimal clipping to avoid harshness.
This technique adds warmth and character while preventing peaks from sticking out too much.
6. Clipping on the Master Bus
Using a clipper on the master bus helps you increase overall loudness before limiting it, making your final master more dynamic and impactful.
How to do it:
- Set the threshold to catch only the highest peaks.
- Use soft clipping for a more transparent loudness boost.
- Use hard clipping sparingly unless you want an aggressive, in-your-face sound.
The key is subtlety, giving just not enough clipping to help the limiter work more efficiently without ruining the mix’s natural dynamics.
Whether you’re shaping drums, enhancing bass, or finalizing a master, a well-placed clipper can make a huge difference. The key is experimentation: adjust settings carefully and trust your ears.
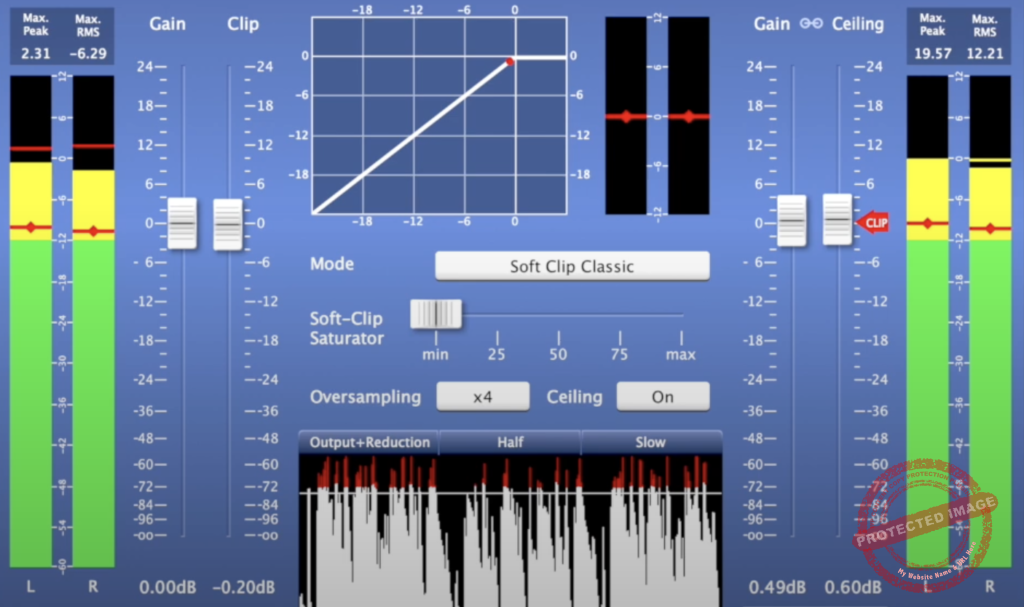
Common Clipping Mistakes and How to Avoid Them
Clippers are powerful, but if used incorrectly, they can wreck your mix instead of enhancing it. Here are some of the biggest clipping mistakes producers make, and how to avoid them.
Overclipping the Mix
One of the most common mistakes is pushing the clipper too hard, leading to harsh, distorted audio.
What happens?
- High frequencies become sharp and fatiguing.
- The mix loses depth and dynamics.
- Bass can lose clarity and become muddy.
How to fix it:
- Clip in small amounts at multiple stages instead of relying on one heavy clipper.
- Use soft clipping for a more natural saturation.
- A/B test your mix before and after clipping to ensure you’re improving, not ruining the sound.
Ignoring the High End
Clipping doesn’t just affect transients, it also introduces harmonics. If you’re not careful, this can make high frequencies sound harsh and unpleasant.
What happens?
- Cymbals and hi-hats become piercing.
- Sibilance in vocals becomes exaggerated.
- The mix feels overly bright and unbalanced.
How to fix it:
- Use a multiband clipper to clip only the necessary frequencies.
- If your clipper doesn’t have multiband control, use an EQ after clipping to tame harsh frequencies.
- Try parallel clipping, blend the clipped signal with the original for a more controlled sound.
Not Checking Clipping on Different Playback Systems
A mix that sounds great on studio monitors might sound terrible on earbuds, phone speakers, or car stereos if clipping isn’t handled properly.
What happens?
- Overclipping can make low-end instruments disappear on small speakers.
- Highs might become too sharp on bright playback systems.
- The mix might lose energy and feel flat.
How to fix it:
- Always check your mix on multiple devices before finalizing clipping settings.
- Use a true peak meter to ensure clipping isn’t causing unwanted distortion.
- Keep a reference track handy to compare your mix’s loudness and tonal balance.
Clipping Without Oversampling
Many clippers introduce aliasing, an unwanted distortion that occurs when processing high frequencies at lower sample rates.
What happens?
- The mix sounds grainy and unnatural, especially in the high end.
- You get weird digital artifacts that weren’t there before.
How to fix it:
- Use a clipper with oversampling (4x or higher is usually enough).
- If your clipper doesn’t have oversampling, try applying a low-pass filter after clipping to clean up artifacts.
Using a Clipper as a Fix for a Bad Mix
Clippers can make a good mix louder, but they won’t fix a bad mix.
What happens?
- If your mix is unbalanced, clipping exaggerates those issues.
- If your bass is weak, clipping won’t make it hit harder, it’ll just introduce distortion.
- If your transients aren’t well-shaped, clipping can make them sound unnatural.
How to fix it:
- Get the mix right first before using a clipper.
- Use proper gain staging to ensure a clean signal before clipping.
- Don’t rely on clipping alone; use it alongside compression, EQ, and limiting for the best results.
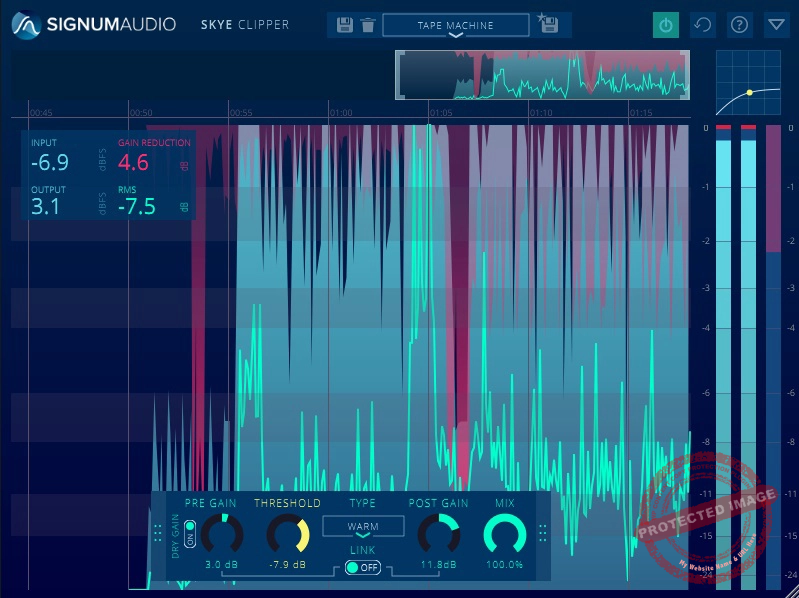
Clipper vs. Limiter: When to Use Each
Clippers and limiters both control peaks and increase loudness, but they work differently.
A clipper cuts peaks outright, adding loudness while preserving the punch and introducing harmonic saturation.
A limiter smoothly reduces peaks, preventing distortion while maintaining transparency.
When to Use a Clipper
- Best for: Drums, bass, vocals, mix buses, master bus (before limiting).
- Use when: You want punchy loudness without over-compressing.
- Avoid when: You need transparent peak control without altering the sound.
When to Use a Limiter
- Best for: Final loudness control, preventing digital distortion.
- Use when: You need clean volume reduction without added distortion.
- Avoid when: You want to preserve transients and impact.
Using Both for Maximum Loudness
For best results, clip first to trim transients, then limit to finalize loudness. This prevents the limiter from overworking, keeping punch and clarity intact.
Last Words
Clippers are one of the best tools for achieving loud, punchy mixes without squashing dynamics. They allow you to push loudness further when used correctly while keeping transients intact.
You can check out some of the best clipper plugins in this article.
Using a clipper before a limiter helps control peaks efficiently, preventing the limiter from overworking and introducing unwanted pumping. Applying clipping in multiple stages, on individual elements like drums and bass, as well as mix buses, creates a more natural loudness boost without overloading a single processor.
Soft clipping works well for adding warmth and subtle saturation, while hard clipping delivers a more aggressive, in-your-face sound. The key is to listen carefully and adjust settings with precision. Overclipping can lead to harshness, so trusting your ears is crucial.
Mastering loudness is all about balance. A well-placed clipper can help you reach commercial volume levels without compromising clarity and energy. Experiment with different settings, refine your approach and use clipping as a tool to enhance your mix rather than as a shortcut for loudness.


