
Clippers are some of the most essential tools when it comes to mixing and mastering. So, here are some advanced techniques to show you how to use a clipper in mastering workflow.
After getting comfortable with the basic operation of clippers, it’s time to learn some advanced techniques that can further refine your mastering skills to enhance the sonic qualities of your tracks.
One of the best-kept secrets in mastering, Parallel clipping, Frequency-Selective Clipping, Harmonic Enhancement, and Clipper Before Compression are just some of the techniques you can use to take advantage of clippers in different ways to get that loud, punchy, and clear master.
If you wanna get that controlled loudness without distortion. Done wrong? Well, let’s just say your track might sound like it went through a meat grinder. That’s why it’s important to get the clipper techniques right.
In this guide, I’ll walk you through what a clipper does, how it compares to a limiter, and when to use it. We’ll cover both hard and soft clipping, best practices for integrating clippers into your mastering chain, and some pro tips to make sure your mix stays clean and powerful.
Oh, and if you’ve never used a clipper before, don’t worry, I’ll break it down step by step, no confusing jargon, just practical advice you can actually use. Let’s dive in!
What is a Clipper?
Let’s begin with the basics: A clipper is a peak-limiting tool that trims the highest transients in your audio, letting you push the volume without squashing everything. Instead of compressing the sound like a limiter, it literally chops off peaks that exceed a set threshold. This means your track can get louder while keeping its impact and clarity.
Imagine your mix is a tall, overflowing cup of coffee. A limiter gently pushes down the foam so it doesn’t spill over, while a clipper just slices off the excess, leaving a clean, even surface. That’s basically the difference between the two.
- Maximizing loudness without the pumping effects of a limiter.
- Preserving transients (especially in drums and percussion).
- Preventing distortion when pushing a track to commercial loudness levels.
- Adding harmonic saturation (in the case of soft clipping).
If you’ve ever felt like your limiter is sucking the life out of your mix, a clipper might be the missing piece. With the right tricks and knowing how much to clip without taking your track to harsh and unnatural realms, you can enhance your tracks with a clipper.
Hard Clipping vs. Soft Clipping
There are two main types of clippers: hard clipping and soft clipping.
Well, let’s go with the analogy of bread. Hard clipping is like using a sharp knife as it’s clean, brutal, and precise, while Soft clipping is like squishing the bread a little before cutting, making the edges rounder and softer.
Hard Clipping: Maximum Control, Maximum Loudness
Hard clipping chops off peaks instantly, as if a transient crosses the threshold, it gets brutally removed. This technique is highly effective for genres like EDM, hip-hop, and metal, where aggressive, punchy transients are essential.
- Great for: High-energy, loud masters where impact is key.
- Be careful: Harshness and digital distortion if pushed too far.
- How to use it: Set the clipper right before your limiterin the mastering chain. Start with small amounts of clipping, then push it until you hear distortion, then back off slightly. Watch your waveform visually, hard clipping should only touch the peaks, not eat into the body of the mix.
Soft Clipping: Smooth, Warm, and Musical
Soft clipping, on the other hand, gradually rounds off peaks, introducing a bit of saturation and harmonic richness. It’s warmer, more natural-sounding, and works well for rock, acoustic, jazz, and pop, basically any genre that benefits from a more organic touch.
- Great for: Adding warmth and glue while controlling peaks.
- Be careful: Too much saturation makes the mix sound overly colored.
- How to use it: Use on individual instruments (especially drums, bass, vocals) or on the master bus. Adjust the “softness” of the clipping (many plugins have a curve or knee setting). If your track feels too digital or sterile, soft clipping can add a subtle analog vibe.
Which One Should You Use?
That depends on the genre and goal of your master. If you want aggressive loudness, go for hard clipping. If you want smoothness and warmth, use soft clipping. Sometimes, the best move is to blend both, using soft clipping on individual elements and hard clipping on the master.

Where to Place a Clipper in Your Mastering Chain
Now that we know what clippers do and the difference between hard and soft clipping, let’s talk about where to put them in your mastering chain.
Many mastering engineers clip before limiting to reduce the workload on the limiter, which results in a cleaner, louder final track. More on that in the next section!
A clipper’s job is to tame peaks before they hit the limiter, so it usually sits right before your final limiter. Think of it like this:
- EQ: shape the tone
- Compression: control dynamics
- Saturation (if needed): add warmth
- Clipping: shave off peaks
- Limiter: bring final loudness
Why Use a Clipper Before a Limiter?
Limiters reduce gain dynamically, meaning they pull the volume down when a peak hits. This is useful, but if the limiter has to work too hard, you’ll get that dreaded pumping effect where the volume ducks unnaturally.
A clipper prevents this by pre-trimming the transients, letting the limiter do its job more smoothly. Instead of smashing peaks with a limiter, you’re shaving them off first, allowing you to get more loudness without artifacts.
How to Set Up Your Clipper Properly
- Dial in the threshold: Start by lowering the threshold until you see peaks being clipped. Don’t go overboard! You want to clip just enough to control transients without destroying them.
- Listen for distortion: Play your track and push the clipper until you hear distortion, then back it off slightly.
- Adjust gain compensation: Some clipper plugins have an auto-gain function, but if not, manually lower the output so you don’t trick yourself into thinking “louder = better.”
- Check with a limiter: After clipping, engage your limiter and check if it’s working less hard while still achieving the desired loudness.
Should You Use a Soft Clipper Before the Limiter?
Yes! If your genre benefits from a bit of warmth and saturation, a soft clipper before the limiter can smooth transients and add a little extra harmonic richness.
This is especially useful in lo-fi, rock, indie, and certain types of electronic music where a slight saturation effect is welcome.
What to Watch Out For
Over-clipping can make your track harsh. If you hear brittle high-end distortion , dial it back.
Too much soft clipping can dull transients. If your track starts to lose punch, you might be overdoing it.
Check on multiple playback systems. Clippers can introduce subtle saturation, so make sure your mix translates well on speakers, headphones, and car audio.
Mastering engineers love using clippers because they increase loudness transparently, but only when used correctly. The goal is to clip just enough to help your limiter breathe without squashing the life out of your track.
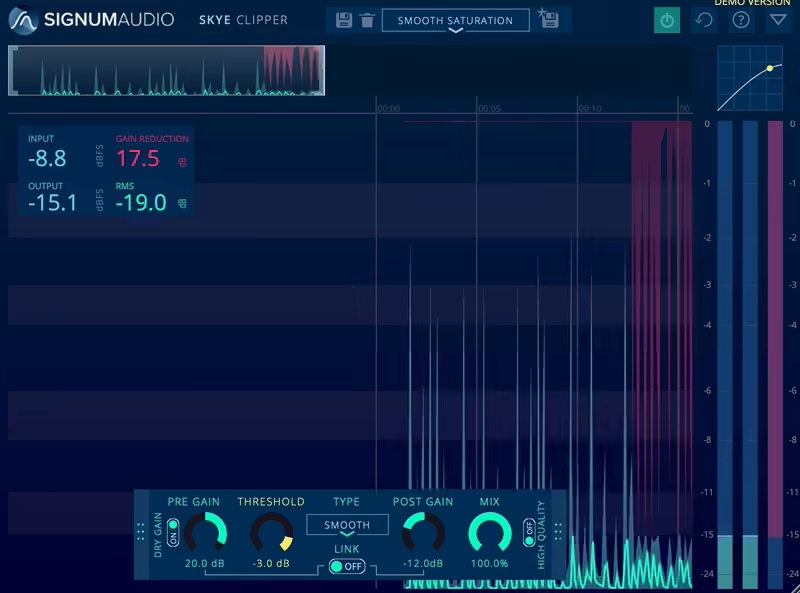
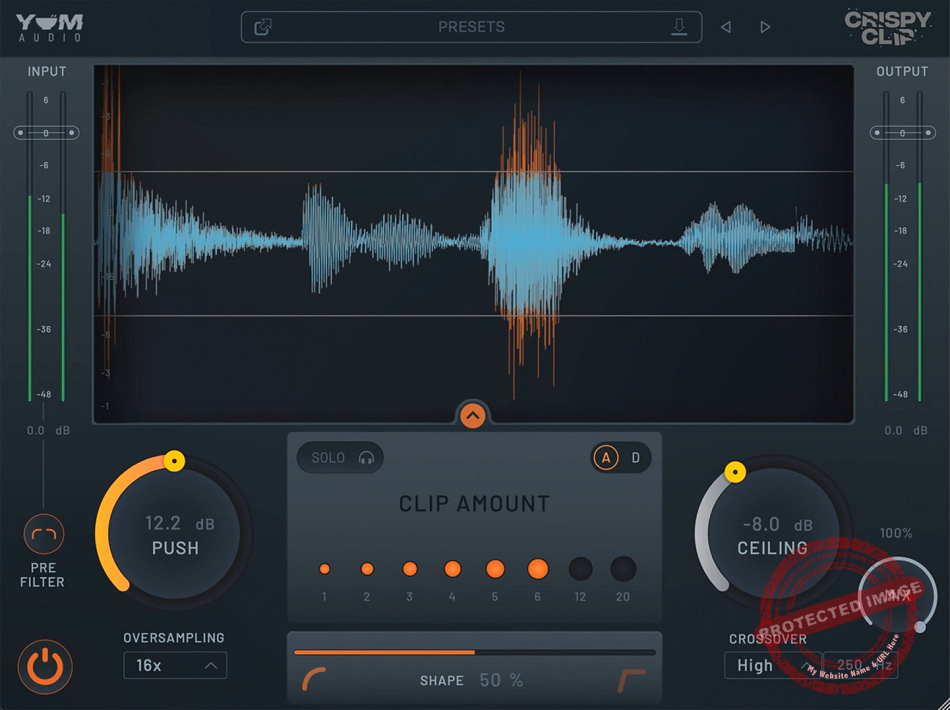
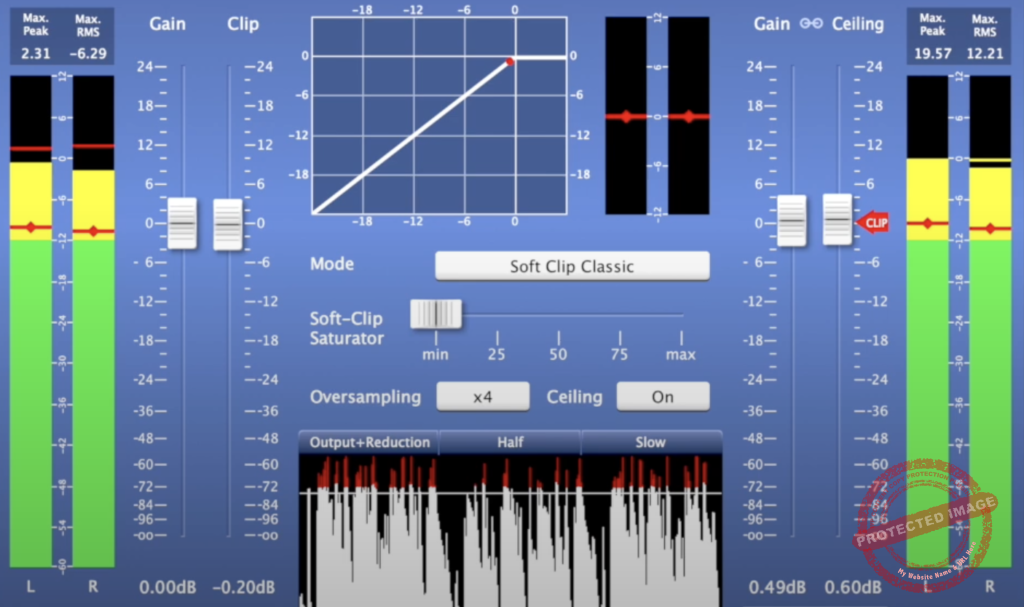
Best Clipper Plugins for Mastering
Not all clippers are built the same as some are designed for clean, transparent peak control, while others add harmonic saturation and color.
Choosing the right one depends on your genre and how much character you want in your master. Here are 3 of the most effective clippers for mastering.
You an check our list of best clipper plugins to see more options!

KClip 3 (Kazrog)
KClip 3 is one of the most flexible clippers available as it allows for both hard and soft clipping, has a mix knob for parallel processing, and offers oversampling to prevent aliasing. It can be pushed hard while still maintaining clarity.
It is best used for EDM, hip-hop, rock, genres, and general peak control tasks.
- Adjustable clipping curve for hard or soft clipping
- Oversampling to reduce digital artifacts
- Mix knob for parallel processing
When you need a clean but powerful clipper that adapts to different styles of music, you can go for KClip 3.
StandardCLIP (SIR Audio Tools)
If your goal is maximum loudness with minimal distortion, StandardCLIP is a great choice. It features oversampling up to 256x, meaning it stays clean even when pushed aggressively. It works well for transparent clipping before limiting.
I recommend this one to mastering engineers who want peak control without noticeable distortion.
- Ultra-high oversampling (up to 256x)
- Hard and soft clipping options
- Adjustable knee for smoother transitions
For precise control over peaks without adding saturation or unwanted artifacts, this clipper is hard-to-beat.

Gold Clip (Ryan Schwabe) – Clipping with Character
Gold Clip was designed with a musical approach, adding harmonic saturation along with clipping. Unlike purely transparent clippers, this one can enhance the tone of a mix while controlling peaks.
Its best use is for hip-hop, trap, and electronic music genres where some extra warmth is desired.
- Adds harmonic drive for coloration
- Multiple clipper styles for tonal variation
- Designed specifically for mastering applications
If you are after a clipper that shapes the sound rather than just controlling peaks.
How to Set Up a Clipper in Mastering
One thing a clipper must have in the mastering workflow is balance. When it’s too little, you’re leaving loudness on the table. But your track will sound harsh or distorted if it gets too much.
The key is to clip just enough to control peaks without sacrificing dynamics. Here’s a step-by-step guide to setting up your clipper for optimal results.
1. Choose the Right Clipper for the Job
Before anything else, decide whether you need a transparent clipper (like StandardCLIP) or one that adds some color and saturation (like Gold Clip).
If you’re not sure, start with a neutral option like KClip 3, which gives you the ability to tweak between clean and colored clipping.
2. Place the Clipper Before the Limiter
A clipper’s job is to reduce transient peaks before they hit the limiter, making the limiter work more efficiently. The typical mastering chain goes as EQ to Compression to Saturation to Clipping and to Limting.
If the limiter is doing too much heavy work, there might be pumping effects. The clipper pre-trims transients, which means the limiter doesn’t have to work as hard.
3. Set the Clipper Threshold
First, lower the Clipper Threshold so that the loudest peaks begin to get clipped. We want to shave off peaks without flattening the whole waveform. An effective starting point is generally clipping about 2-3 dB on your loudest hits.
4. Adjust Clipping Type (Hard vs. Soft)
If you want an aggressive, clean peak control, go for hard clipping, as it offers a sharp cutoff of peaks. But, if you need a smoother, more musical result, soft clipping is better as it brings gradual rounding of peaks.
Soft clipping is particularly useful for retaining warmth in acoustic or vocal-heavy tracks, while hard clipping is best for EDM, rock, and hip-hop, where you need a tight, loud master.
5. Fine-Tune Input Gain and Output Level
If the clipper doesn’t have auto-gain compensation, manually adjust the output gain so the increase in loudness does not fool you. A/B test with and without the clipper to ensure you improve the track, not just make it louder.
6. Engage the Limiter and Finalize the Loudness
Now that the peak control is dialed in turn on the limiter and push for the final loudness. Now, the limiter should require less gain reduction, thus resulting in a cleaner master.
7. Check for Distortion and Artifacts
The last step is testing and checking for distortion and artifacts. Listen to the mix at different volumes to check for unwanted distortion first.
Then, test it on various playback systems, such as speakers, headphones, and phone speakers, for clipping issues, as different speakers introduce different problems.
If you notice distortion or harshness, slightly back off the clipping threshold.
How Much Should You Clip?
- Light clipping (1-2 dB): Great for keeping things transparent.
- Moderate clipping (3-4 dB): Works well for loud genres with controlled transients.
- Heavy clipping (5+ dB): Can be useful in extreme cases, but be careful of distortion.

Advanced Clipping Techniques
- Parallel Clipping
Blend the punch of clipping with the dynamics of the original track by sending your audio to an aux track with a clipper, then mix it back; this keeps things powerful yet controlled!
- Frequency-Selective Clipping
Instead of smashing the whole spectrum, clip only where it counts, use a multi-band splitter to add presence to mids, sparkle to highs, and keep the bass clean for ultimate clarity.
- Harmonic Enhancement
Some clippers go beyond just cutting peaks and, tweak harmonic settings to introduce warmth, richness, and subtle saturation that glues your track together beautifully.
- Clipper Before Compression
Shaping transients before compression can create a smoother, denser sound, helping aggressive peaks blend naturally, perfect for rock, EDM, or anything that needs impact.
- Automating Clipper Settings
Your track changes, so why shouldn’t your clipping? Automate the threshold and knee for different sections, making sure quiet verses stay clean while choruses hit hard.
- A/B Testing with Different Clippers
No two clippers sound the same! Test different plugins to find the right tonal character, whether you need transparent peak control or a smashed, crunchy vibe.
- Use Clipping as a Creative Effect
Forget just peak control. Push a clipper to its limits for a gritty, aggressive sound, especially in industrial, rock, or lo-fi hip-hop where distortion is part of the magic.
Common Mistakes When Using a Clipper in Mastering
Clipping is an excellent way to reduce peaks and increase loudness, but it is easy to get too far.
When misused, it can bring about distortion, weaken transients, or produce an unnatural-sounding master.
- Pushing the Clipper Too Hard
One of the biggest issues with clipping is going too far. If you cut too much off the peaks, your master can start to sound brittle, especially in the high frequencies.
While clipping can help control transients, excessive use can make drums lose their punch and introduce an unpleasant harshness to vocals and cymbals.
The best approach is to apply just enough clipping to tame the loudest peaks without flattening the mix. A few dB of clipping is often enough. When you start hearing distortion, it’s time to back off.
- Using a Clipper Instead of a Limiter
Clippers and limiters both help control peaks, but they work differently. A clipper simply chops off peaks at a fixed level, while a limiter reduces peaks dynamically, responding to the overall signal.
Clippers work best when used before a limiter, helping reduce transients so the limiter doesn’t have to work as hard. You’ll likely introduce unwanted distortion if you try to achieve final loudness with a clipper alone.
A good workflow is to set the clipper to remove a few dB of peaks and then use a limiter for final loudness adjustments. This makes the limiter more transparent and avoids excessive pumping or loss of dynamics.
- Not Using Oversampling
With some clippers, aliasing occurs when pushed too hard, causing digital artifacts and dulling the clarity of the master. Oversampling reduces these problems by processing audio at a higher resolution and then converting it back to the final sample rate.
Modern clipper plugins support oversampling. Some high-frequency elements can sound clean if at least 2x or 4x oversampling is enabled.
However, oversampling consumes more CPU power, and if your computer struggles with real-time playback, you can enable it only during export.
- The Impact on the Low End is Ignored
Clipping affects all frequencies equally, so it may impact bass and kick drums too. When clipped too much, the low end can lose definition and sound muddy.
This is particularly relevant in hip-hop and electronic genres that demand a clean, punchy bass.
To avoid this, some engineers use a multi-band clipper or high-pass filter before the clipper to protect the lowest frequencies. In many cases, letting the limiter handle the low end while clipping only the mid and high frequencies results in a cleaner master.
- Not A/B Testing Properly
Clipping naturally increases perceived loudness, which can trick your ears into thinking the processed version sounds better. But louder isn’t always better; if clipping introduces distortion or changes the tonal balance, it may be doing more harm than good.
A/B testing is essential when using a clipper. Match the output gain before and after clipping so you can compare the processed and unprocessed versions at the same volume. This helps ensure that the clipping improves the track rather than just making it louder.
- Clipping the Entire Mix Too Early
Some engineers apply clipping too early in the mastering chain, which limits their ability to make further adjustments. If you clip before EQ or compression, those effects will be applied to an already flattened waveform, which can reduce flexibility in shaping the final sound.
The best place for a clipper is near the end of the mastering chain, right before the limiter. This ensures that you’re clipping only the final peaks without affecting earlier processing.
- Not Checking Across Different Playback Systems
A master that sounds great in the studio might not hold up on other playback systems if clipping is too aggressive. Small speakers, like those in laptops or phones, can reveal distortion that wasn’t noticeable on studio monitors.
It’s always a good idea to check the master on multiple playback devices. If distortion appears on smaller speakers, it could be a sign that the clipping is too heavy. Changing the clipper threshold or switching to soft clipping may keep things clear across systems.
Last Words
Clippers are among the most powerful but least understood mastering tools. They deliver louder, punchier, and more controlled shots without excessive pumping or limiting artifacts when used correctly.
The trick is knowing when to clip and how much so that the film maintains the right balance between loudness and dynamics.
Mastering is about control, not destruction, and a well-placed clipper can push a mix to commercial loudness standards while keeping its energy and impact.
Yet, clipping must always be incorporated into a larger mastering plan alongside EQ, compression, and limiting for the best possible sound.
Once you know how clipping works in mastering, you can just experiment. Try different clippers, tweak settings, and compare results to professional masters. With practice, you can get your tracks loud and polished without losing punch and clarity.
